Rubber drive belts typically start to fail after 5-6 years and now that these are almost 30 years old, unless they were hermetically sealed when new and never opened, the belts have turned to goo. Fortunately the late model Sony EX (starting with the ex1) models are very easy to replace the belt on.
New quality belts are available from fixyouraudio and decktech. decktech belts are identical to fixyouraudio.com’s belts but decktech tends to send a smaller size belt that with initial listening sounds better, but in 3-6 months the smaller belt will stretch unevenly. Fixyouraudio.com has better prices and also sells replacement clutch parts, retaining clips and replacement pinch rollers. For these reasons we wholeheartedly recommend fixyouraudio.com and include links without affiliate identifiers.
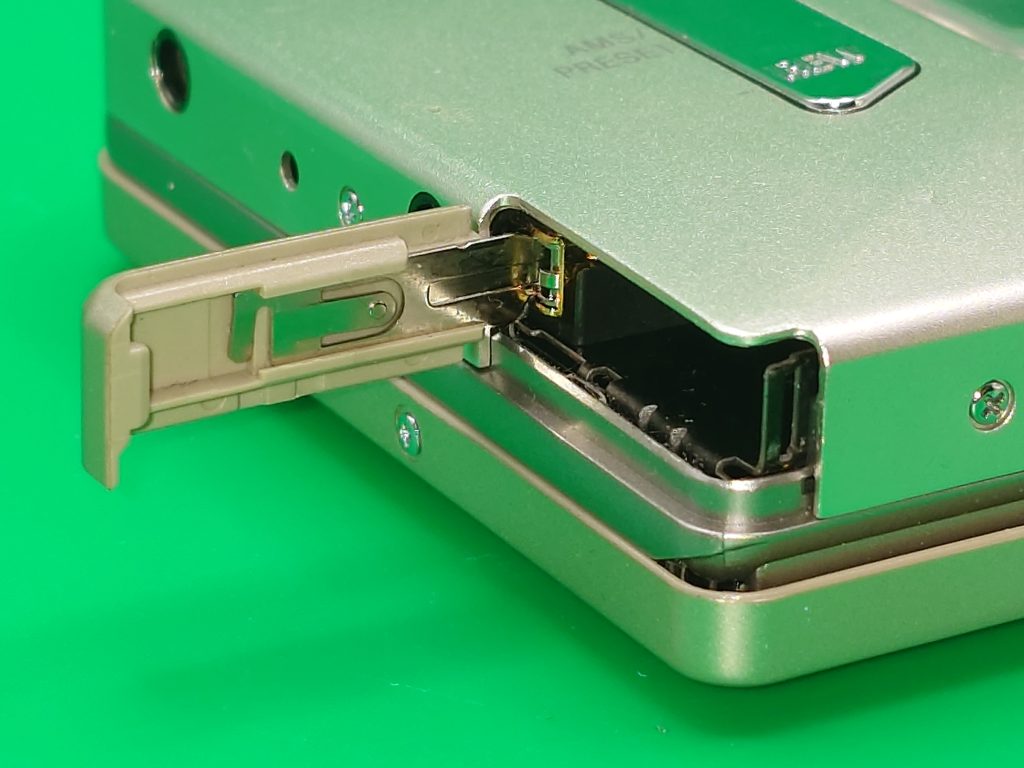
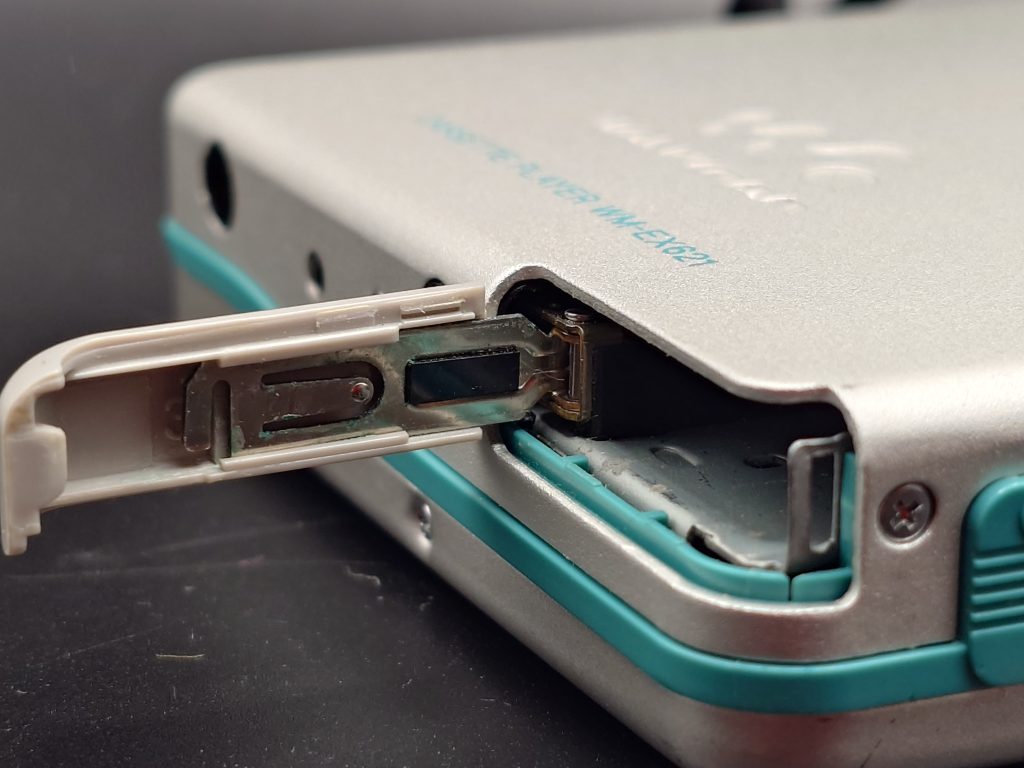
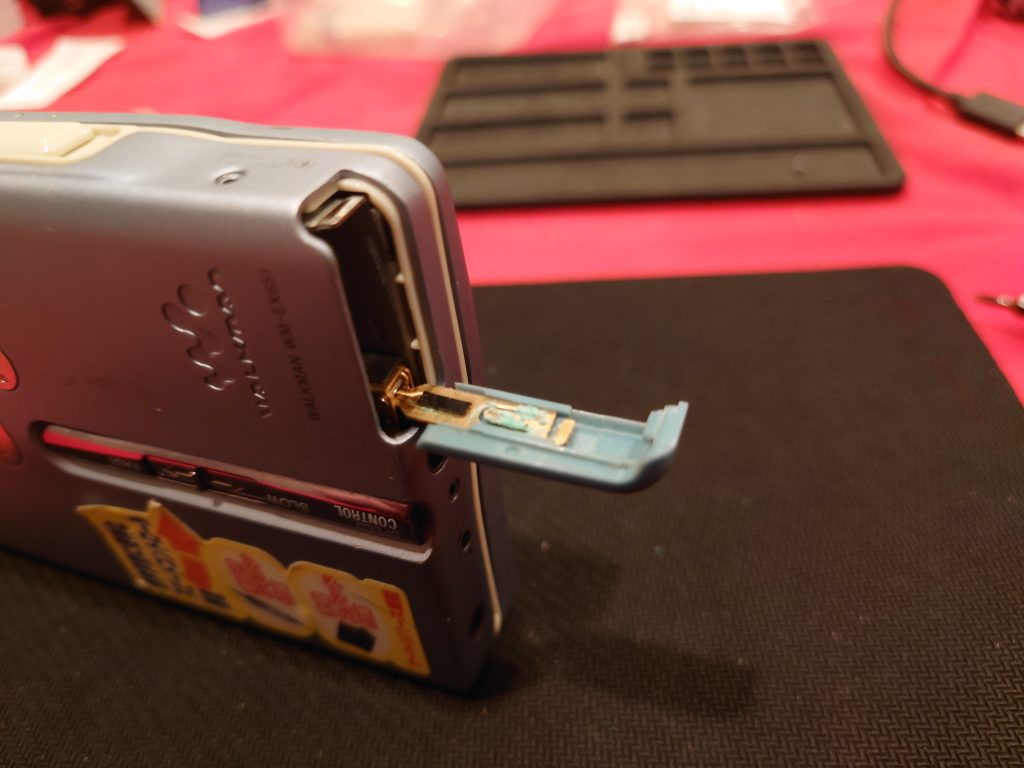
The First step on most models is to remove the battery door cover / latch. Using a small tool gently pry up the tab of the door contact furthest from the hinge
Sony WM-FX855 Battery Door doesn't need to be removed
Sony WM-EX621 Battery Door must be removed
If the rear cover is on both sides of the battery door then the battery door must be removed.
WM-EX651
WM-EX7 with door removed
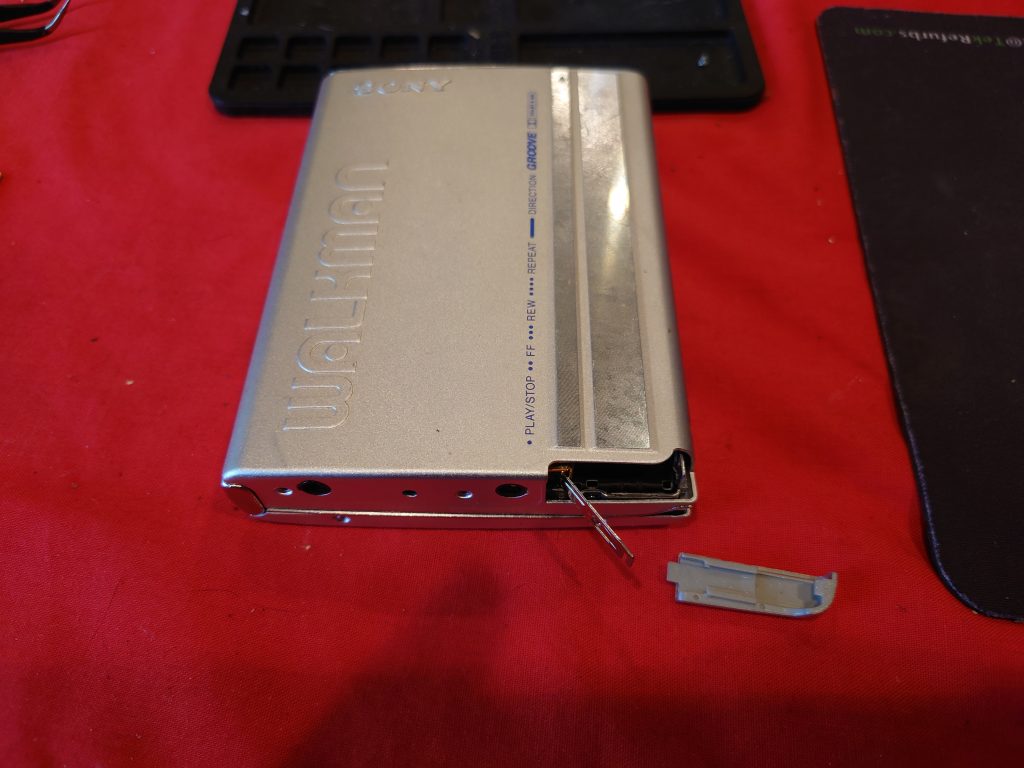
After removing the battery door (if required) the next step is to remove the screws holding the back on with a high quality precision screwdriver.
Most Sony EX, FX, & GX units will have 5 screws but the EX7 for example only has 4 screws holding it’s rear cover in place.
WM-EX1 Being opened
WM-EX7 Being opened
After removing the battery door and the cover screws the back cover will lift off in a hinge like motion along the side that had no fasteners. In most cases you can lift from the battery area to open it.
WM-FX877 with back cover removed
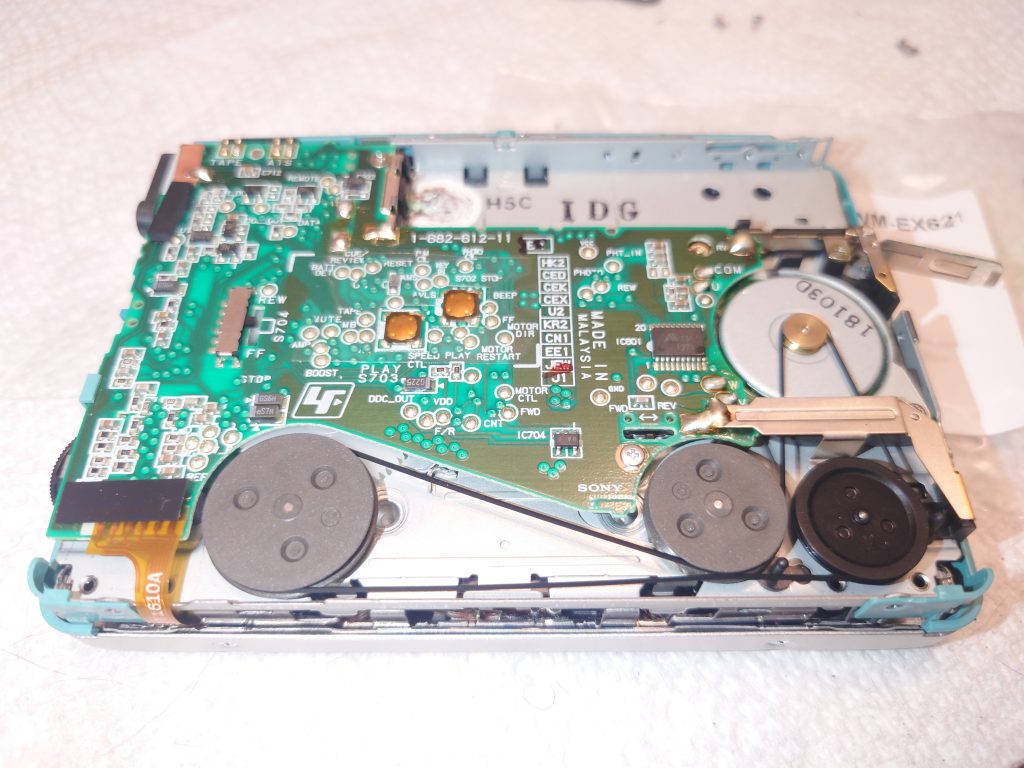
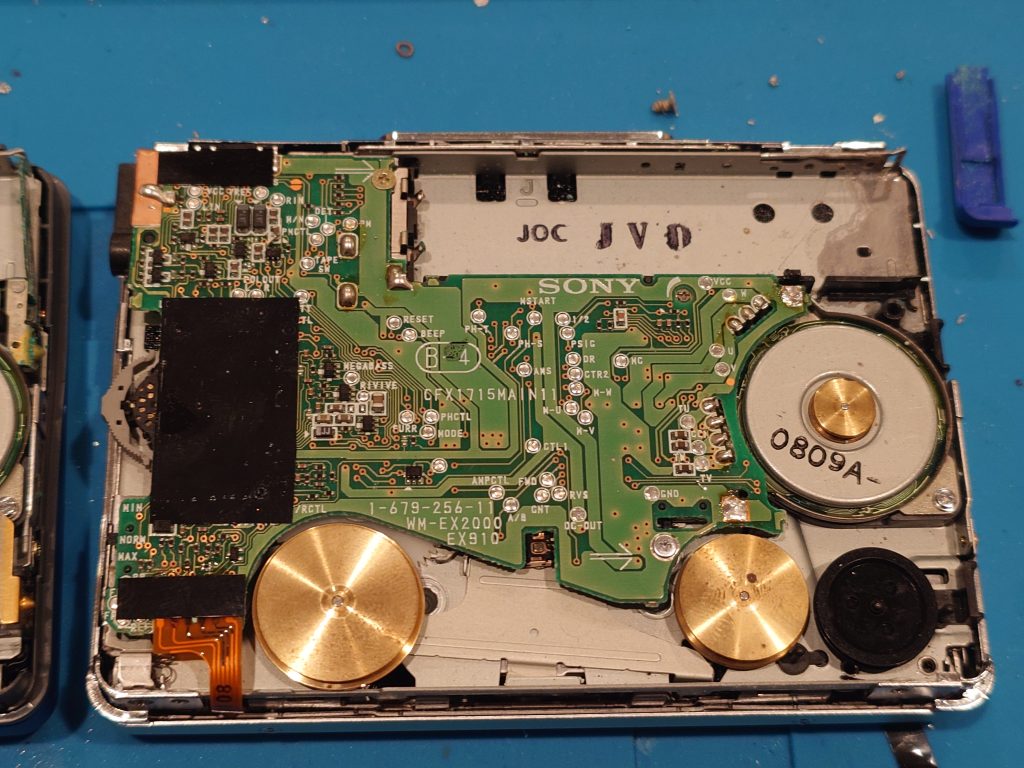
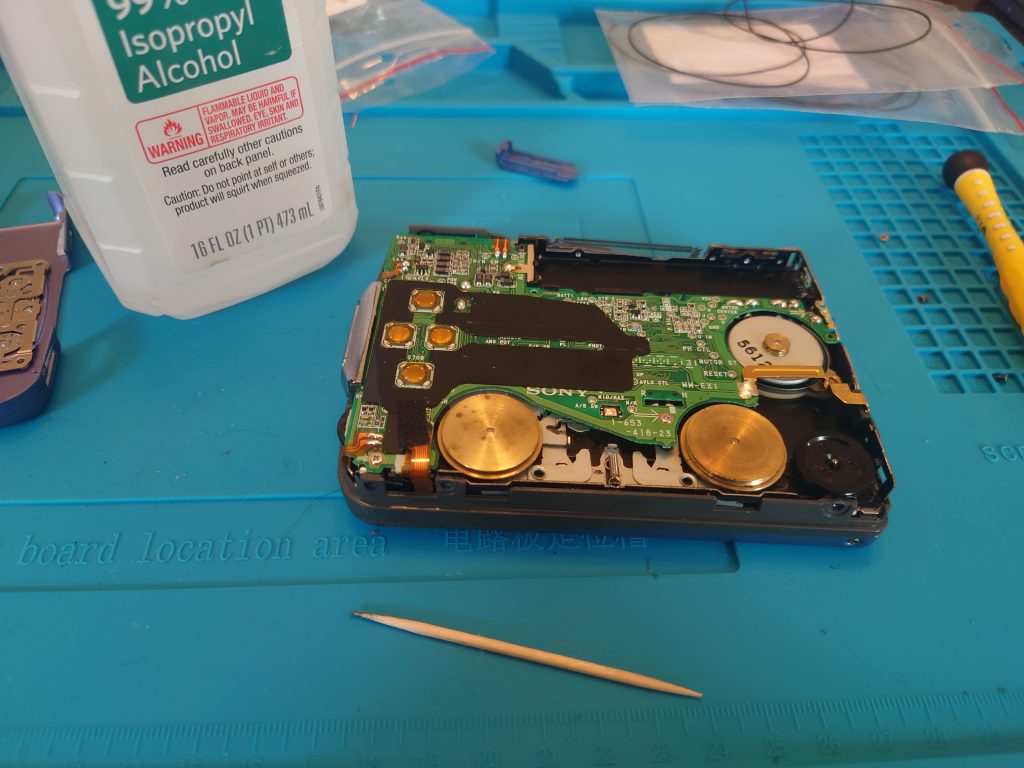
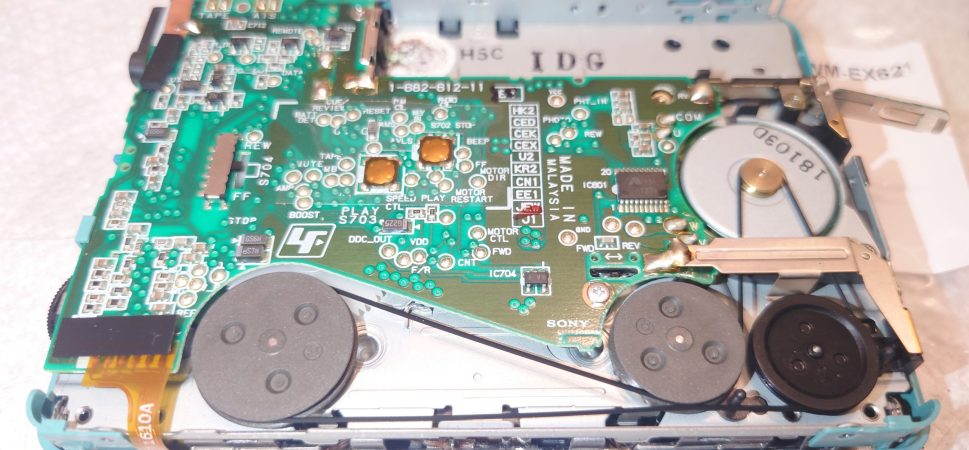
WM-EX1 with back cover removed and belt path cleaned
With the rear cover removed you can now remove the old belt, newer models with polymer drive wheels generally don’t require much cleaning but the metal wheels can react with the sulfur in the rubber.
Rubbing alcohol does a great job of cleaning belt goo, and toothpick and tailers thread are great ways to clean the wheels without damage. Do not use a metal object to clean the wheels as this can scratch the wheels and cause wow and flutter.
Most models will require you to lift the external battery connection tab slightly but some like EX1 FX1 and others have room to just slide the belt under
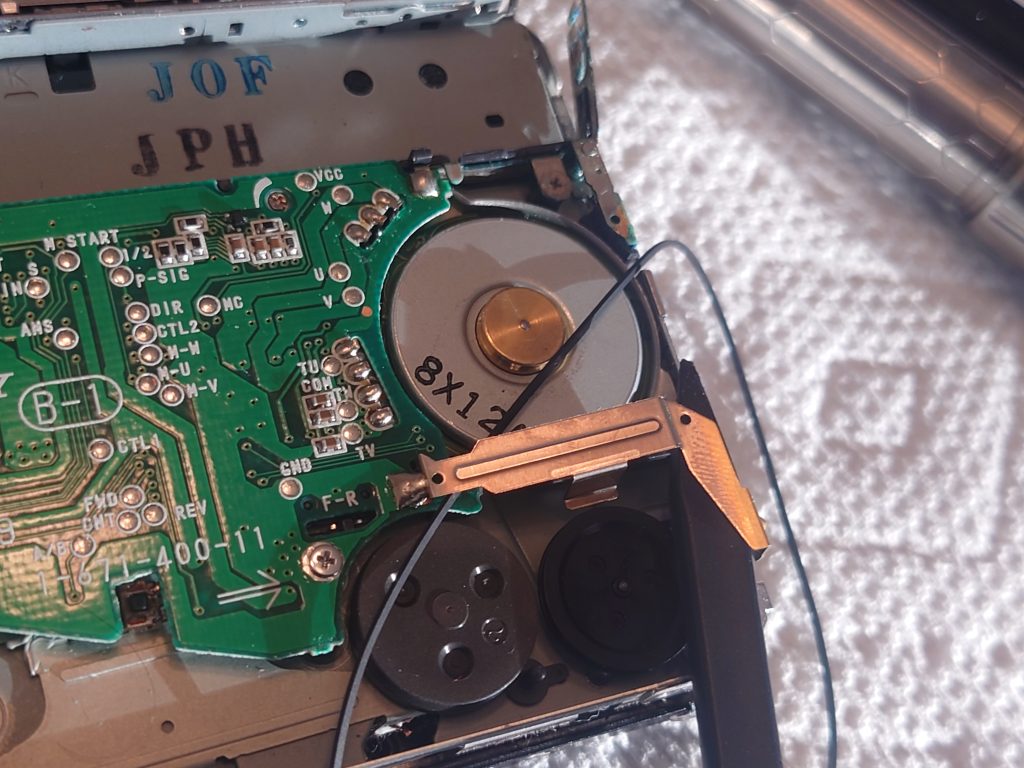
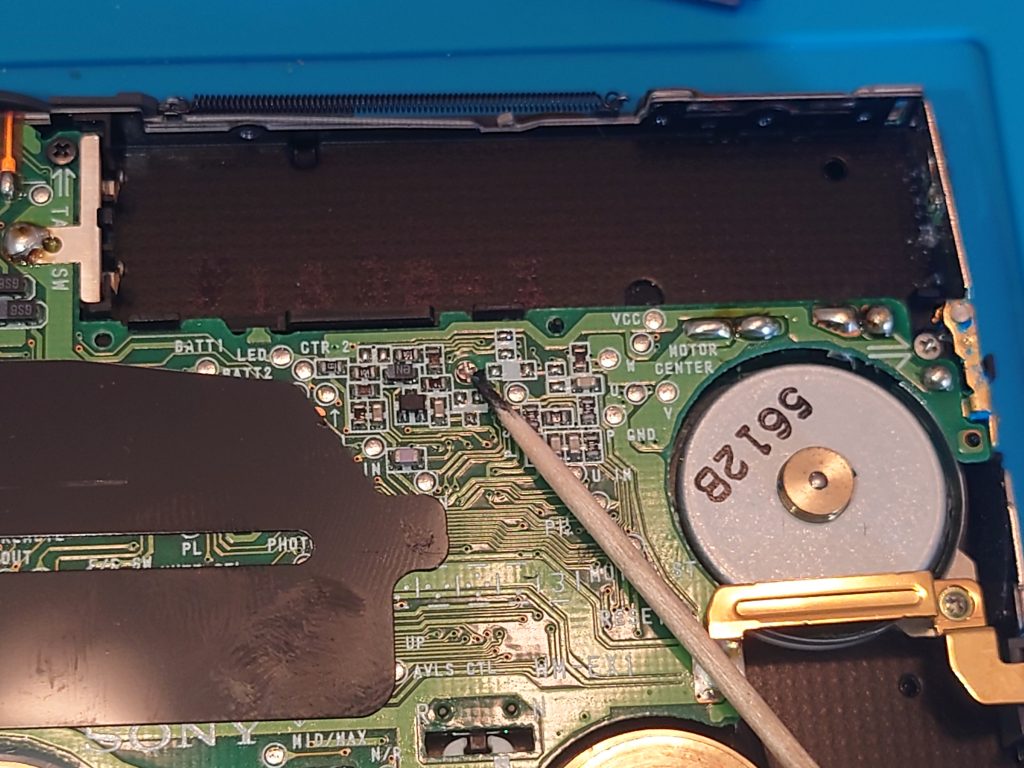
Sony WM-EX1 motor speed adjustment
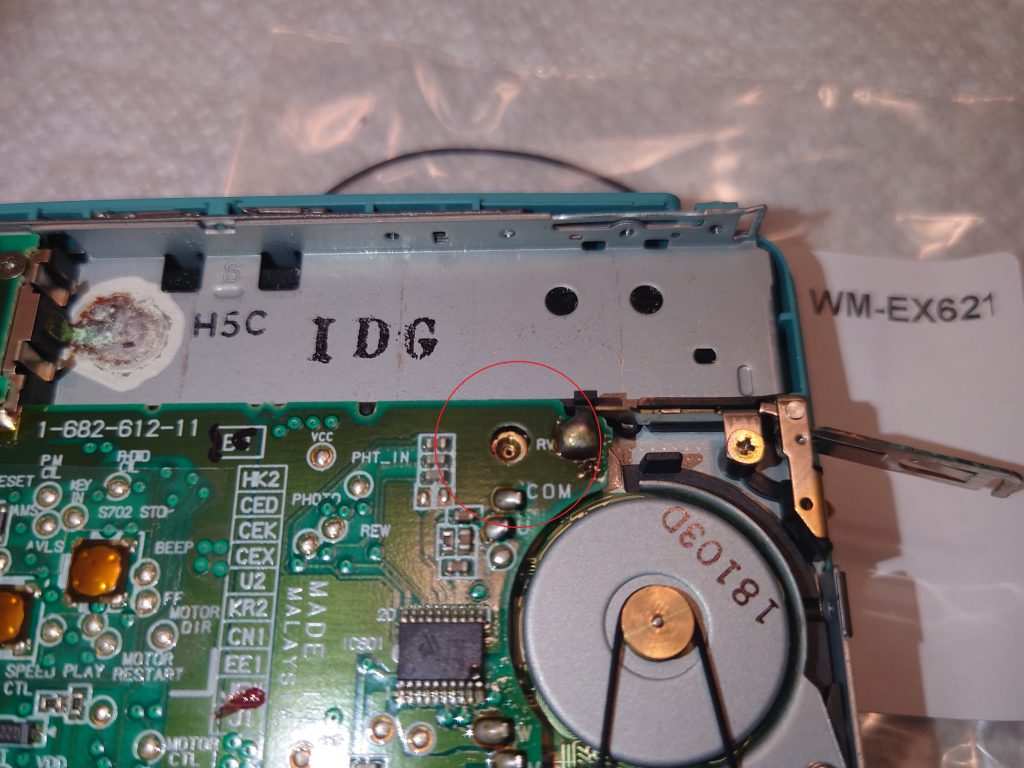
WM-EX621 motor speed adjustment
Once the new belt is intalled you will need to put the battery door back on to test the unit and set the speed.
Speed is set using a tape with a known sine wave frequency (ie 3000hz) and free software you can download to your cellphone. We Walkmaniacs here at WALKMANMD prefer speed tapes from fixyouraudio.com https://fixyouraudio.com/product/speed-calibration-tape/
once you have the belt replaced simply put in the test tape, insert a battery, open the app, plug headphones in and put them by the phones mic.
The software will tell you the frequency and if it reads higher or lower than 3000hz you need to adjust the speed using the motor speed adjustment potentiometer.
usually it’s the only potentiometer on the board but if you have a GX or FX unit there will be another for the radio. the motor speed is usually closest to the motor but check the service manual if you’re unsure!
Once the speed is set, just put the cover and battery door back on!